How to Cut and Polish Opal Step by Step- Australian Opal Cutters
The Ultimate Guide for Opal Cutting and Polishing
Opal cutting is a specialized skill. In this guide, Graeme Blaiklock, the founder of Australian Opal Cutters, whose opal cutting voyage has been 50 years will share his unqiue opal cutting and polishing experience and tricks with you.

Graeme Blaiklock, the founder of Australian Opal Cutters
Step 1 Hand Pick Your Opals
Hand pick multiple opals ready for cutting at once, making sure that the ironstones around are fairly solid and crack-free. For new opal cutters, it is good to start with reasonably ‘low-grade’ materials which are easy to cut. Although they might not get you into a beautiful stone but can help you build up confidence and develop systematic opal cutting and polishing skills. Until you feel more confident and comfortable with cutting opals, and then you can challenge yourself with a ‘step-up in color’ or a ‘step-up in grade’ which will get you into some nicer stones.
Step 2 Study the Opal
When you’ve got an Opal in your hand, the most obvious thing to look for is color. From there you want to find the ‘seam’ or ‘flat line’ of Opal color that exists within the gemstone, finally, you want to decide which side is the ‘top’. Make sure that you’re using a good Halogen light source, or are in the sun when studying your Opals, as you need to see the color properly. A good thing to do is keep the Opal wet, as this helps bring the colors within.
To do this, imagine a piece of cheese with sauce on one side of it, stuck between two buns. You want to spend a lot of time looking at the bun from all angles, to decide whether the slice of cheese (or color bar) is brighter on the side with sauce, or the side without. Now that you’ve made your decision, (keeping that analogy in mind), you want to take the bun off one side only. In other words, you want to grind the ‘host stone’ down to land near the color bar that is brightest, exposing the brightest side of the color bar to your eyes, whilst at the same time, leaving a nice potch base underneath the color bar for support. Sometimes one side of an Opal gemstone is naturally darker, or even has a black potch backing, in that case, you’ll always want to remove the ‘whiter’ side of the Opal. As it will generally be brighter with a darker backing.

Opal Studying
Tips: Always remember to put on some old clothes, especially if you’re going to cut Boulder Opal. Also put on your apron. (When cutting, I like to lay a towel over my legs as well).
Before deciding which is the ‘top’ of the gemstone. It is best to grind away the sides of the Opal, following the color bar around the Opal. In the analogy above, you’d be grinding around the sides of the bun to expose the cheese, so that you can see it from all sides, when you turn it around 360 degrees. When doing this, you don’t have to worry about shaping your opal, as you’re just assessing which side is to be faced. So don’t grind away too much opal chasing the seam around the gemstone.
Step 3 Face the Opal
Once this is done, and you’ve studied the Opal and decided on which side the top of the Opal is, it is generally a good idea to mark the top of the Opal with a permanent marker. (Since you spent all of this time studying it and may lay it down to ‘face’ another day). When taking the top of the Opal off, to expose the color bar, the term for commonly used within the Opal industry is, “Facing the Opal”.
Sometimes it is easier to ‘saw’ the host stone (or Potch) off with your trim saw, just above the color bar, so that you don’t have to spend too much time grinding the potch away to expose the color. Thus, saving your wheels from wearing unnecessarily. Other times it just easier to use a rough wheel and quickly grind the potch off, if the Opal is small, or there’s not much host stone to take away. I like to use my 180 grit or 360 grit to quickly remove the host stone toward the color bar. Remember to always stop just above the color bar, as the rough wheels will take away color in the blink of an eye. Also remember to always press extremely lightly, as you can chip the Opal on these wheels and also make deep scratches. Look for a layer of Opal within the ironstone host rock that is flat. The flatter the color bar, the easier it will be to shape the Opal. If the color bar is ‘wavy’, then you’ll generally need your ‘Dremel’ tool to grind down, or ‘carve’ the host stone away to expose the wavy color bar, or, if you wish to chase the color bar on your wheels, then imagine you’re looking at a tennis ball. You want to chase the color in the same way, so that it curves out toward you.

Opal Facing
Step 4 Shape the Opal
Once that you’ve ‘faced’ your Opal. It’s now time to start shaping your Opal. I use the 360-grit sintered wheel to start to get a pleasing shape, but I don’t spend too long on this wheel, I quickly change over to the 600-grit sintered wheel to finish facing the Opal, exposing as much of the color bar I can, without removing too much Opal, and finish shaping the top of the gemstone into a nice cabochon.
The shape you finish with on the 600-grit sintered wheel, will be close to the final shape of the Opal.
For the shape you choose, the Opal may ‘speak to you’, keeping it a ‘freeform’. Or you may choose to use a template, and a tungsten scribe (or texta) to draw the shape on the face of your Opal. Depending on the type of Opal, and how I’m feeling, I use both methods to ‘scribe’ the shape. Sometimes I even color in the whole face of the Opal in, with a permanent marker, so I know “what to keep”, and I can track the process of my cutting easier. I’ve heard of people drying their Opals, and coloring the face of the dry Opal, before each polishing stage, to know when it’s time to grab the Loupe and have a look at the process. This has always appealed to me and could save much time during each wheel. But I’ve honestly never tried it, because I’d have to dry the Opal each time.

Opal Shaping
Step 5 Dop the Opal
Before going onto the next stage of Doping the Opal, you need to slightly ‘flatten’ the back of the Opal, ready for wax. You can go back to the 360-grit wheel, as I do, or just stay on the 600-grit wheel. Flatten, or ‘Cab’ the back of the Opal a little bit so that there’s a nice surface for the wax to stick to when you Dop your Opal. You don’t have to do this perfectly, as you’ll generally finish the back of the Opal last. I personally like to get the back of the Opal near perfect at this stage, so that it is much easier to finish the Opal within the final step. This way, there’s less time spent on the back of the Opal after your final polish, and therefore, less chance of a rough wheel accidentally touching the final polished face of the Opal, which has happened to me before. Once you’ve pre-shaped the Opal by hand, all the way up to the 600-grit sintered wheel and flattened the back (and remembering to try and remove any sand). It is now time to ‘Dop’ your Opal, ready for the final stages of “Cutting and Polishing”.
Tips: Always remember that wax won’t stick to a cold stone!
You can Dop your Opal in one of two ways.
(1) Using a Dop Station, where the machine automatically maintains the wax to a specific temperature, generally set by adjusting the potentiometer on the unit itself. You can place the clean and dried Opal onto the hot plate (bottom side of the Opal down, no longer than 20 to 40 seconds) to warm up whilst attaching a small blob of wax onto the end of your Dop stick, and pre-shaping it to a tear drop. Then, with a set of tweezers, pick up the Opal and place it onto the hot wax. This method is great when you’re dopping up a huge batch of opals.
(2) Using a Spirit Burner, hold the Dop stick in one hand, while holding the clean dry Opal in a set of tweezers in the other. Spin the wax in the flame (but do not let it drip, if it does, you’ve got the wax way too hot) Switch between waving the Opal a couple of times in the flame, and then waving the wax through the flame, a few times more than you would the Opal! Place the Opal onto the wax.

Opal Dopping
Once the Opal is on top of the wax, you want to quickly dip your fingers into some water and start to adjust the Opal perfectly, before the wax sets. Making sure that the whole back of the Opal is evenly covered by wax, and also making sure that the Opal is not touching the Dop stick through the wax. When that seems right, spin the Dop stick between your fingers, left and right, as you want to see that the Opal’s color bar is perfectly horizontal to you. This will make the next stages of shaping the Opal on the wheels a much easier task.
As I mentioned above in my list of machinery and tools I use. I have a few different types of Dop sticks. I find that the most important part of using your Dop sticks to cut Opals, is consistency. Pick the sticks you like, but stick to the same length, and try to stick to similar thicknesses. I know that this will change with the different sized Opals you are Dopping, but keep them all similar. The ‘feel’ you get with the repetition of cutting will help to give you a consistent, and more brilliant finish.
Tips: Remember to never let wax protrude or exceed the outside limits of the Opal you are Dopping. You shouldn’t be able to see wax when viewing the stone from above.

TIPS: Always remember to keep your cutting machine clean, especially when frequently cutting Boulder Opal.
The main reason is contamination. You don’t want dust, or different grits of diamond and opal stuck to any wheels, especially as the grit or grade becomes finer. This is especially important if your water supply to each wheel is from a recirculation system. I personally do not like these systems, but, if you’re using one, make sure that you attach a good filter to maintain flow on the suction side of the pump, and also try to use muslin cloth or something similar, on the outlets of each water jet. You really have to maintain the cleanliness of a recycled water system to totally eliminate the chance of contamination, to keep your Opals free from scratches as you go to finer grits when polishing.
Step 6 Polish the Opal
Some people prefer to cut their Opals in batches. Using the harsher grade wheels to pre-cut and pre-shape everything before polishing their Dopped Opals, and then they fully clean their machines before starting this process. I think that this is a great idea, as there is nothing worse than scratches that keep appearing on your Opals from contamination, and nothing worse than having to go back and unnecessarily waste time to take scratches out.
Tips: Always press gently and use extremely light pressure when polishing your Opal.
Regularly inspect your Opal with your 10 x magnification Jeweler’s Loupe, and if you notice that there is a sand spot that goes too deep to remove, or an inclusion that cannot be removed, or a dull patch of potch that may have to stay in the face of the Opal, as if it is ‘chased’, you may lose most of your color, then, it’s your decision to keep these within the gemstone, or, cut the stone into smaller pieces to try and remove them. Inclusions do reduce the value of an Opal, but they are acceptable. These choices will continually arise when cutting Opal. This will constantly remind you how rare a beautifully finished, and inclusion free Australian Opal truly is. This is all part of the fun (and frustration) of cutting Australian Opal.
600 grit Sintered: Taking your Dopped Opal, always look over the Opal, and have the ‘face’ of the Opal facing you while you chase your shape template or get to your desired shape by ‘eye’. Take your time in getting the exact desired shape of your Opal and press gently. Continually turn the Opal around and around, never leave the Opal in the same place for too long, as this will create a facet within the Opal, and this is the last thing you want.
Once the outside shape is pleasing, now it’s time to get the dome you desire. If the Opal color bar is very thin, and you cannot create a dome, simply round / curve the edges of the gemstone into a C shape and continue smoothly onto the face of the Opal. This will create the effect that there is a dome.
Remember to always keep the Opal moving to remove the scratches created by the harsher grit in the previous step, and always keep the Opal moving to avoid created new facets and deep scratches.
To create a dome, you can cut a 10-to-20-degree curvature across the top of the dome, then, on the outside edge, perform an angle cut at about 45 degrees, and then another at about 70 degrees. From there, you can gently take away the ‘sharp’ edges left from your angle cuts by blending them into one. Using circular and sweeping motions, blend all angles into one nice curvature, all the way around the Opal.
At the end of any stage of cutting on any wheel, this part will take practice, but will give you excellent results on your Opal. By holding you Dop stick extremely gently, rapidly spin the Opal, and with the lightest of touch, gently press it against the wheel, making sure that you use this technique, touching the entirety of the Opal, on the wheel. This method will remove all facets and smooth the Opal.
To know when you’re finished pre-shaping. You firstly have to wipe the Opal dry, and check the entire gemstone, especially the face, with a Jeweler’s Loupe. Preferably a 10 x magnification Loupe. So that you can especially see the ‘consistency’ of the finish, within each polishing stage. There will be scratches, but they should all be uniform, and a consistent thickness related to the ‘grit’ you are working with at the time. If there are abnormal or larger scratches or facets, then keep going on this stage until you are satisfied.
600, 1200 and 3000 grit ‘Nova’ wheel polishing:
I find that I spend most of my time making sure that the final shape is perfect on the 600 grit ‘Nova’ wheel, followed by probably more time spent making sure all scratches are removed on the 1,200 grit ‘Nova’ wheel.
The following applies to all 3 wheels.
Always keep your Opal moving, left to right across the face of the wheel (to wear the wheel evenly), and keep the Opal spinning around and around. Remember that you are totally removing the scratches from the previous wheel, or previous ‘stage’ of cutting, making the Opal more pleasing to the eye through every stage. Remember the sides of the Opal through each stage, and also focus on the face of the Opal. Most importantly, remember to always press lightly, this is extremely important when using ‘Nova’ / soft wheels. Again, wipe the Opal and check your progress with a Jeweler’s Loupe. Move on to the next wheel only when you are 100% satisfied.
If you’re ever feeling anxious, or tired, and feel you’re rushing any stage of the cutting process. Place your Opal aside, turn everything off and go and take a break.
Opals formed over millions of years beneath the earth, and they truly deserve 100% attention when cutting, as you’ll never find that Opal ever again. They’re as rare and unique as your fingerprint. Final Polish on ‘Lightning Ridge’ or ‘Coober Pedy’ / ‘Mintabie’ Solid Opals:
Paint the ‘milky’ textured Cerium Oxide / water mixture onto your spinning hard felt pad with a paint brush, or, via a spray bottle, until you see the solution spitting off the side of the wheel. Take your Dopped opal and GENTLY touch it against the felt pad. Remember to ALWAYS keep your Opal moving around and spinning, and ALWAYS keep the pad wet.

Opal Polishing
I find that if you’ve done a great job on the previous cutting stages, then the Final Polish stage is the easiest of the lot. You have to constantly spin the Opal by rotating the Dop stick between your fingers. Making sure that you keep changing the angles of your Opal so that you get the sides, and turning the Opal upwards, or downwards, until you eventually end up with the top, or face of the Opal touching the felt pad. Continue to do this a few times, at all angles, and then wipe the Cerium Oxide off the Opal, or dip it into a glass of very clean water to check the progress of your Final Polish. Do this by using your 10 x Jeweler’s Loupe until there are no visible scratches left on the Opal.
If your Opal gets too hot or has a weird facet or a sharp edge near the back of the Opal, it can easily grip to the felt pad, and go flying out of your hands quite easily. It is common for an Opal to ‘fly off the dop” if you’re pressing too hard, or the Opal gets too hot and starts to grip to the felt. Keep full control of your Opal during the final polish stage and keep that felt wheel wet. It is also common that scratches will start to appear if your Opal gets too hot. So, if you’re noticing new scratches appearing, keep up more Cerium / water on the pad, or move the Opal around more, or apply less pressure, and polish more gently.
The finish that Cerium Oxide produces is somewhere between 14,000 & 50,000 grit, depending on grade and quality of Cerium that you purchase. I choose ‘Optical Grade’, which is generally at the finer end of that scale.’

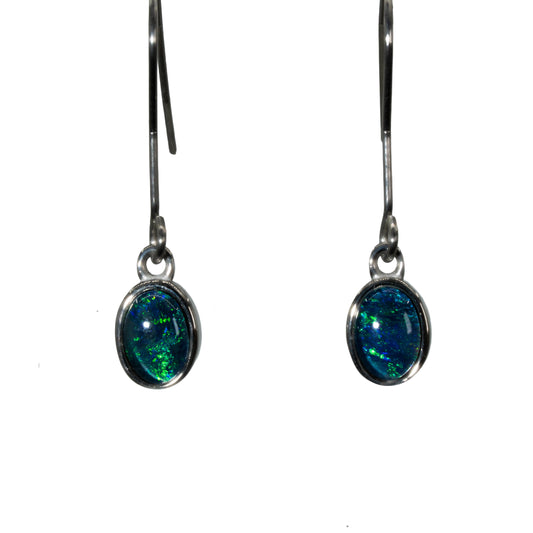
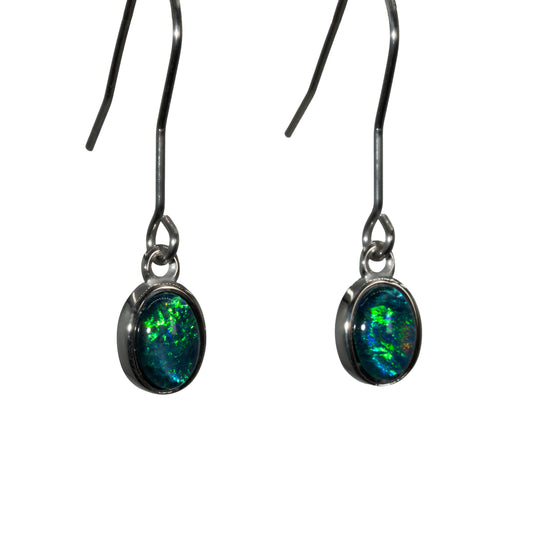
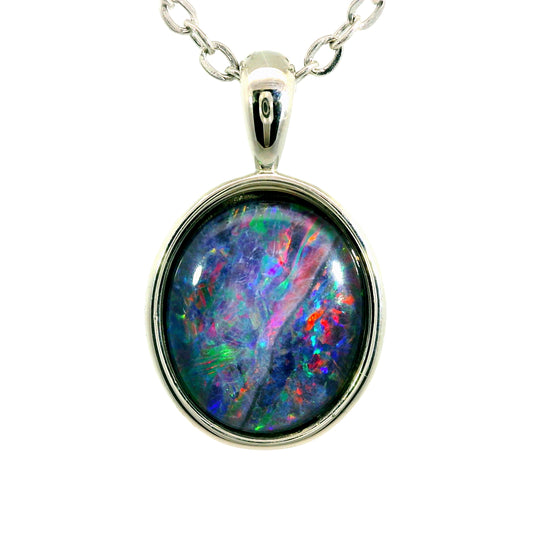
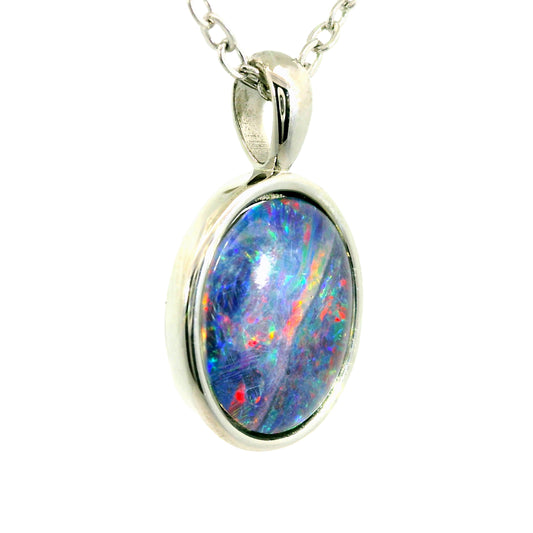
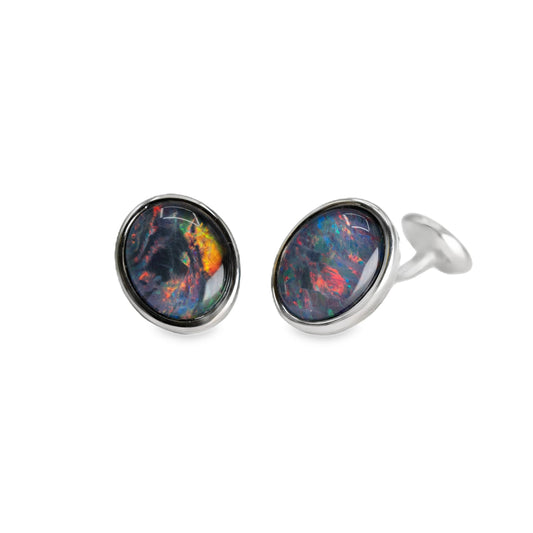
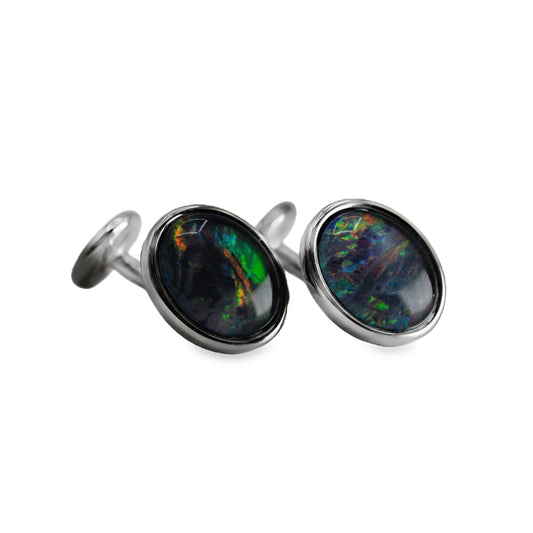
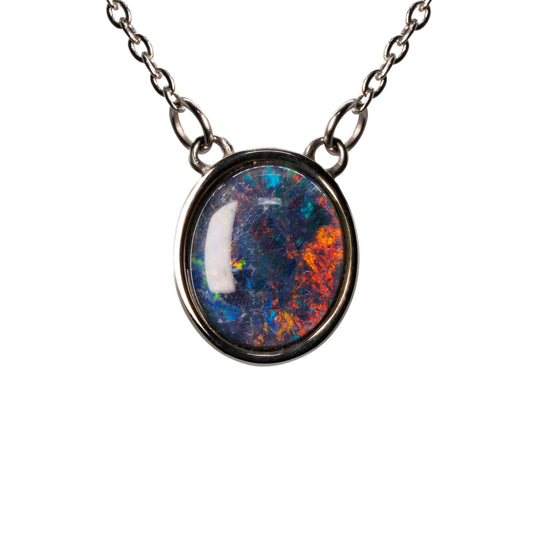
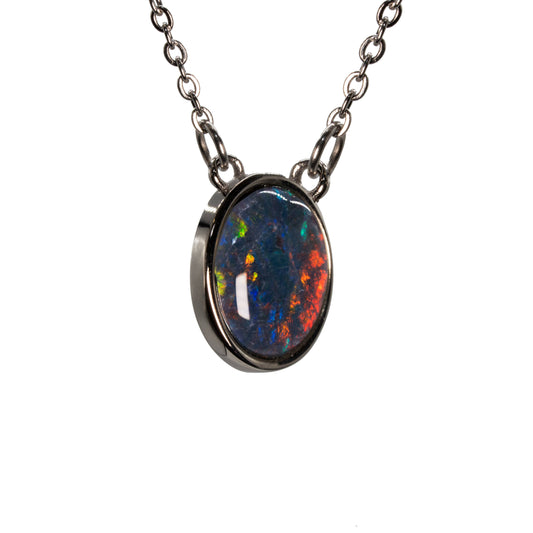
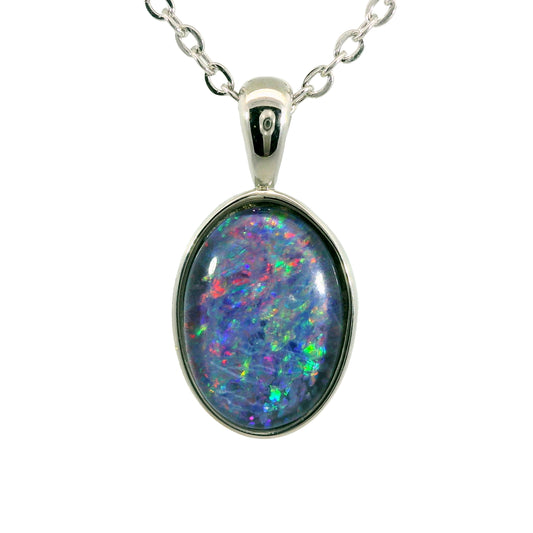
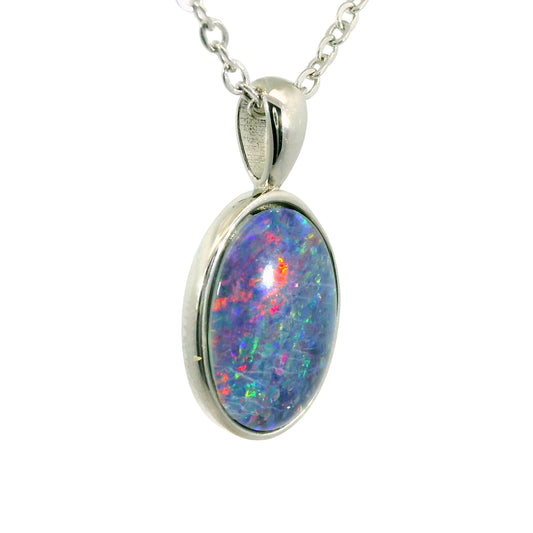
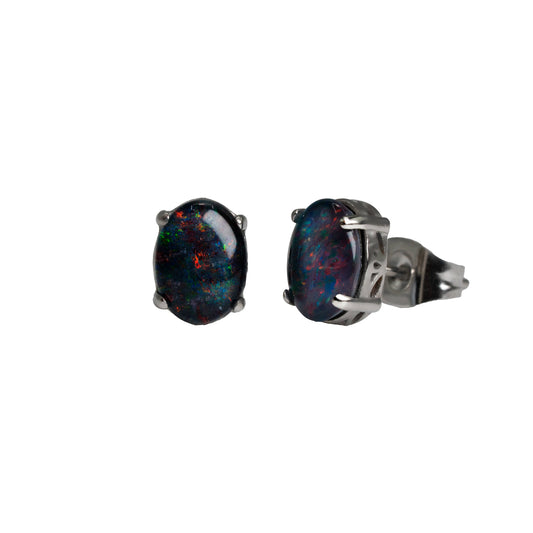
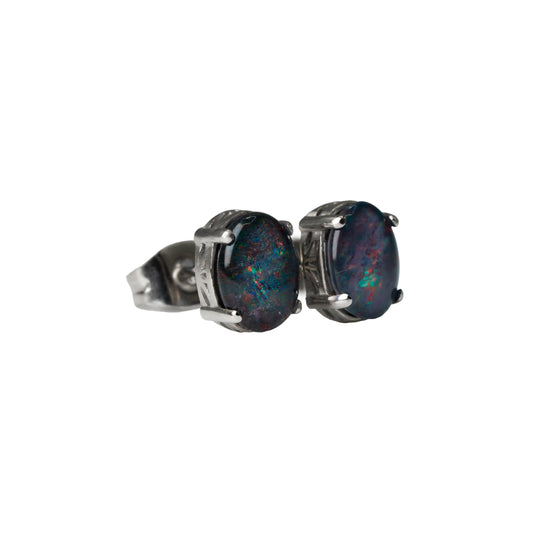
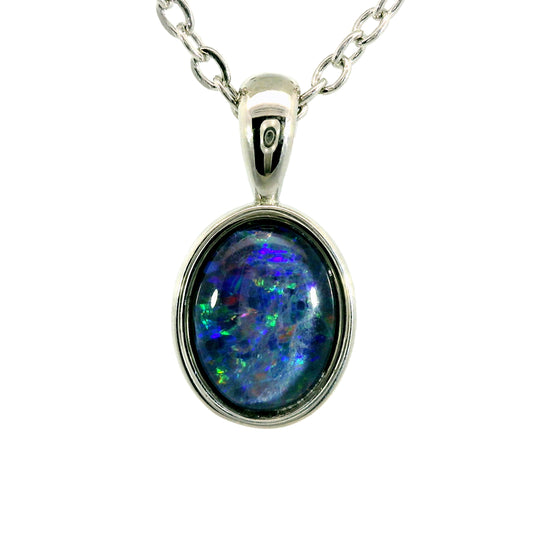
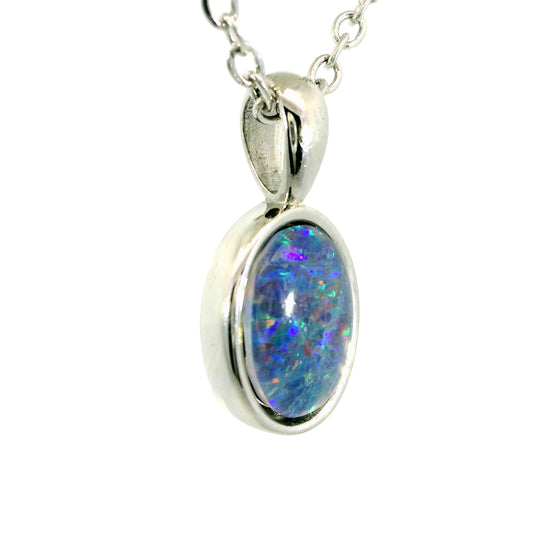
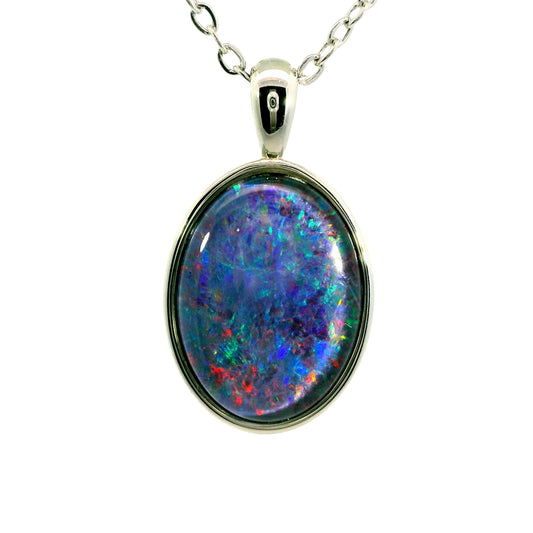
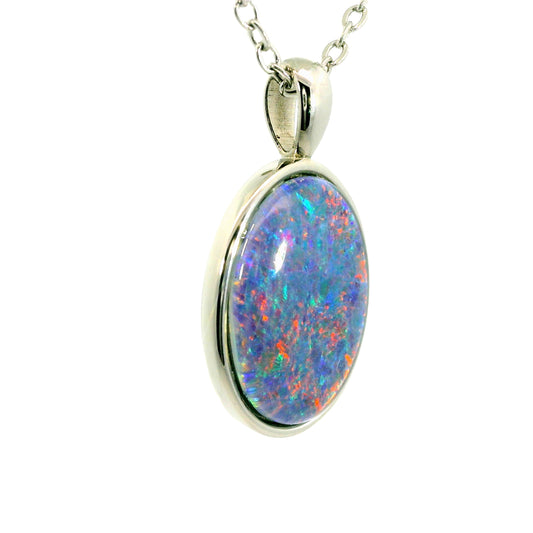
The End Result of a Fined Cut and Polished Opal
Opal Cutting and Polishing Process


